
Hello!
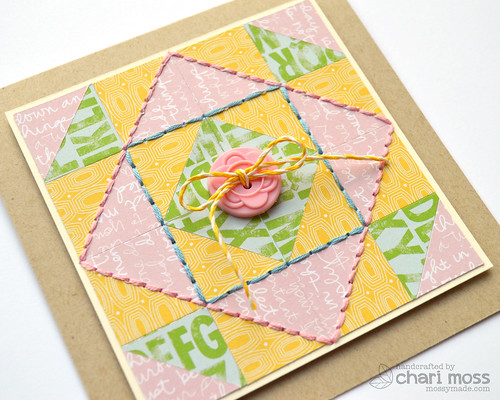
Today I have a little tutorial showing how to create quilt square cards using pattern paper.
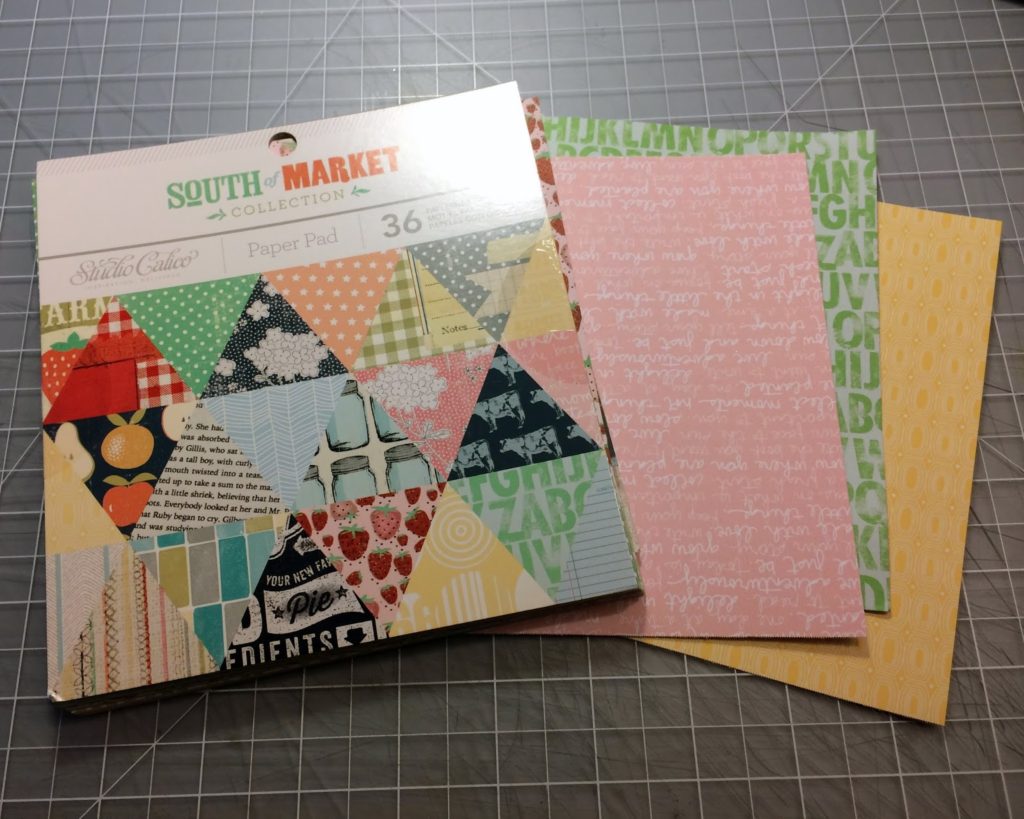
First thing to do is pick out our patterns, I tried to stick with ones that were not too busy or colorful for my card. I used a mix of smaller more subtle patterns and a large ones. My papers are from the South of Market 6×6 paper pad.
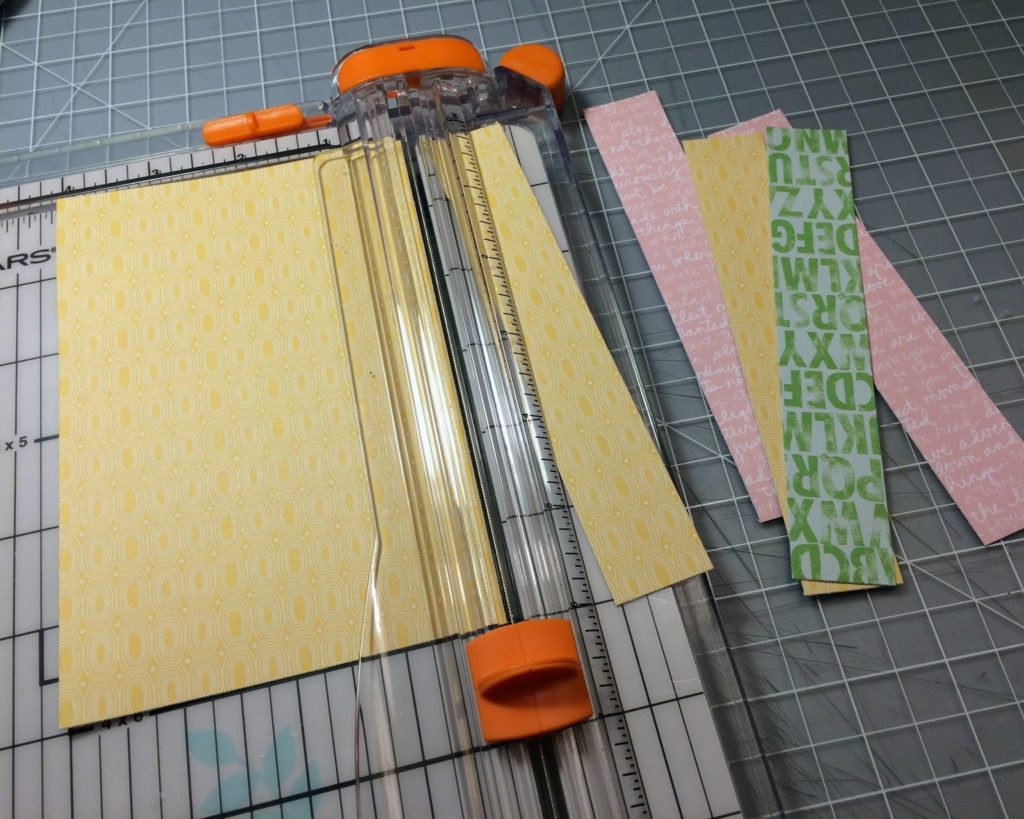
After picking out the patterns cut the papers into 1″ strips, you only need a couple of each color.
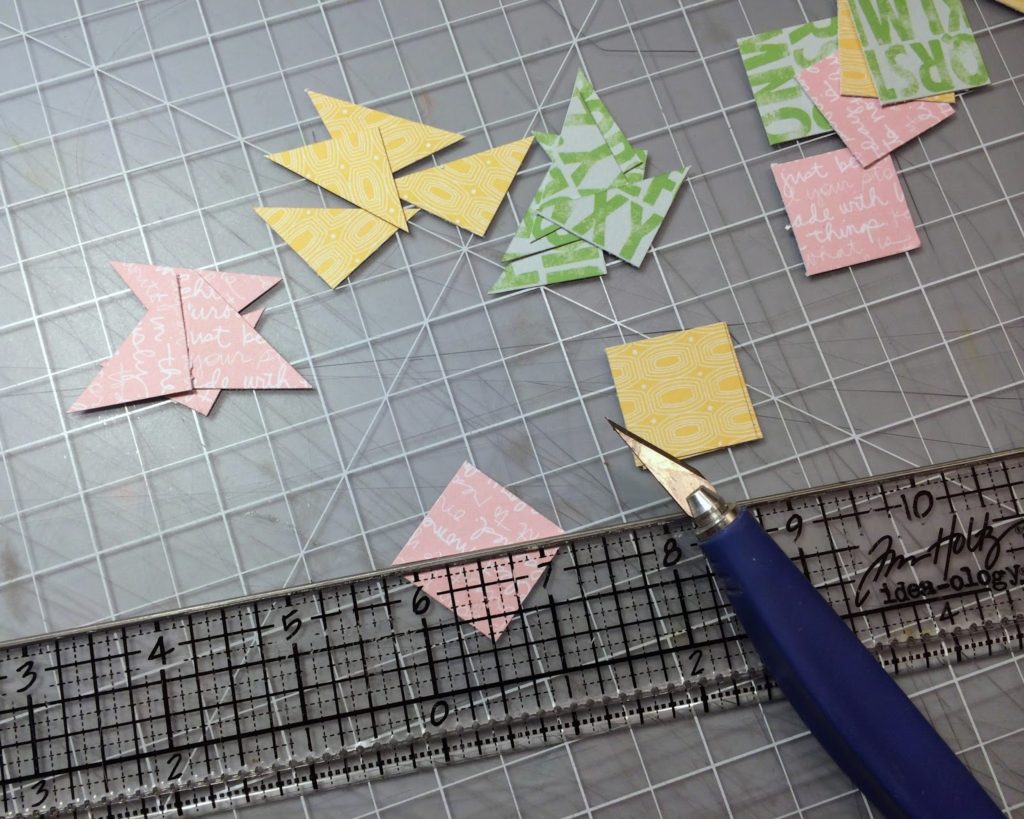
Then cut down the 1 inch strips into 1 inch squares.
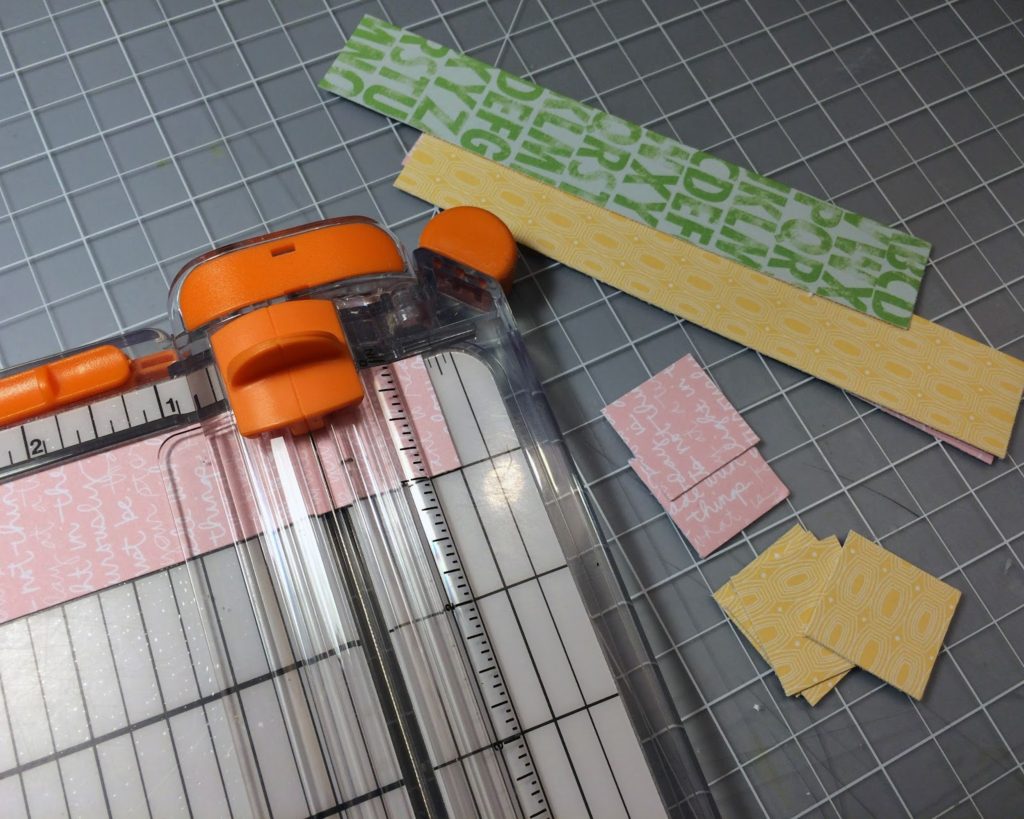
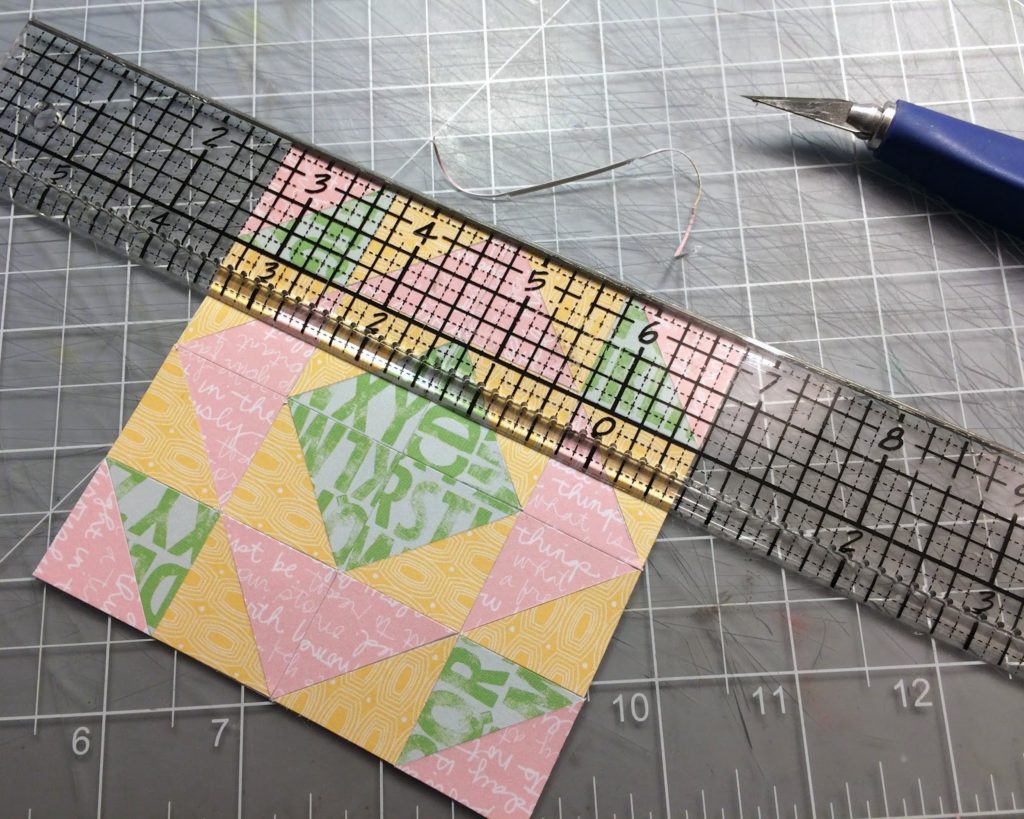
Using a straight edge and a craft knife cut each square in half diagonally so you are left with triangles of each pattern.
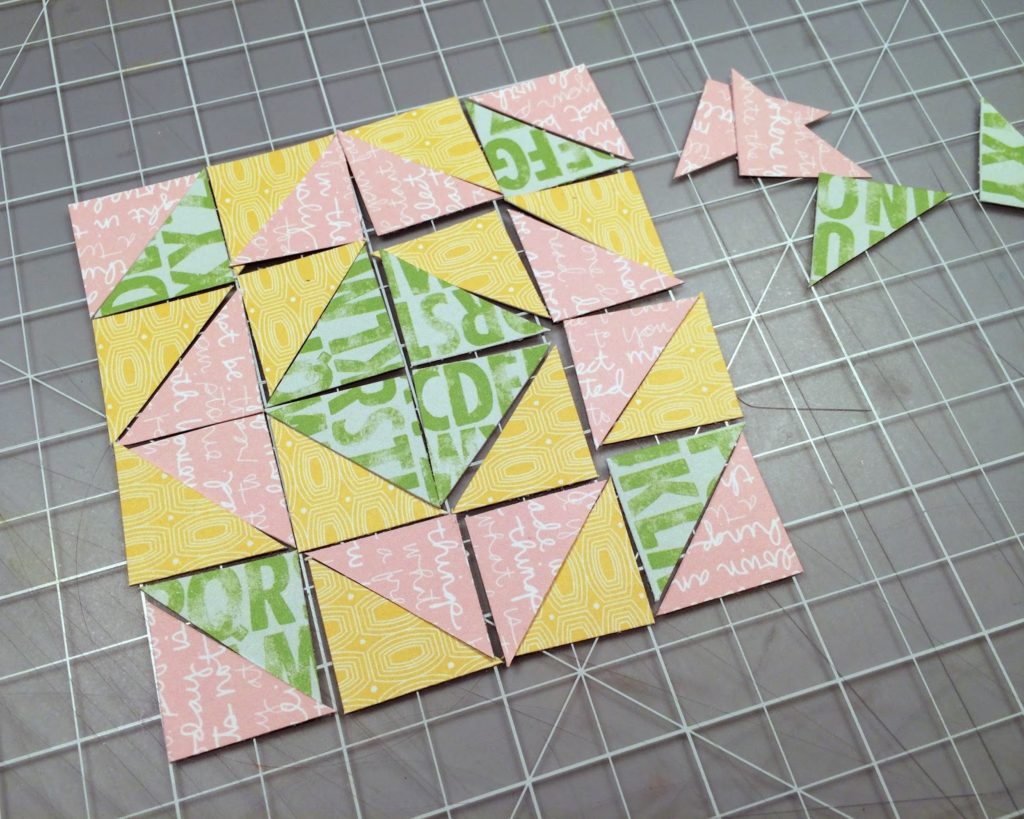
Next lay out your pattern playing with the colors and layout. I used the internet to google quilt square patterns to find suggestions of different simple quilt patterns.
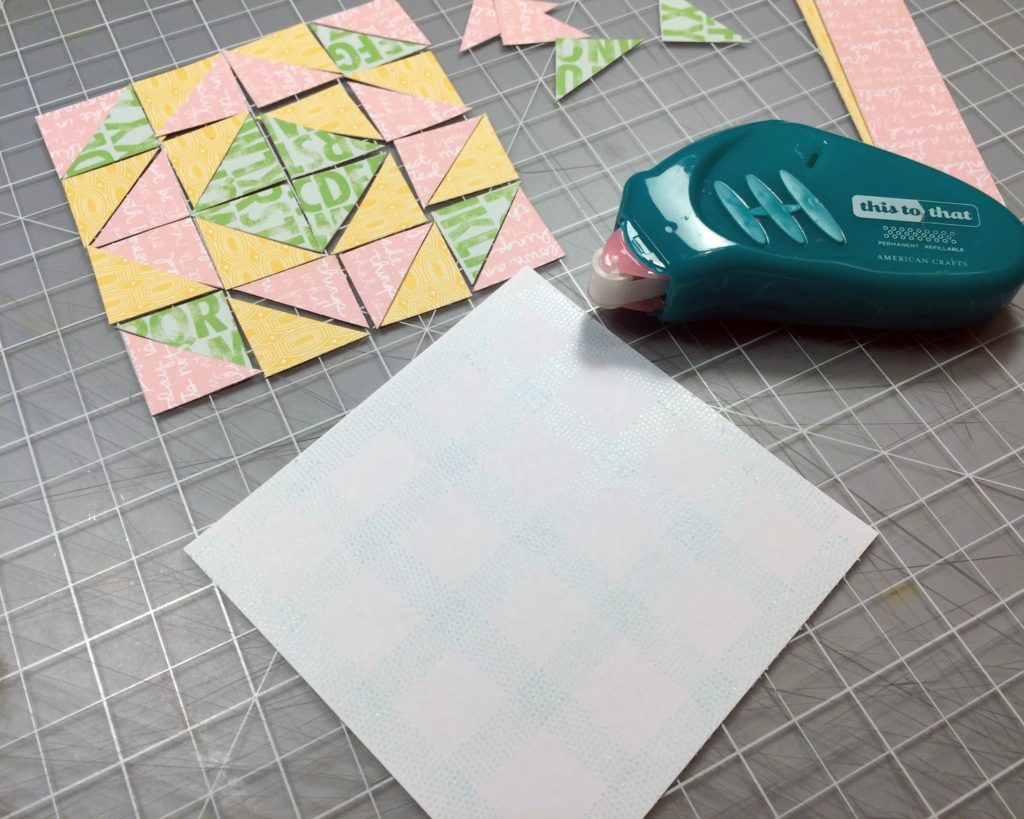
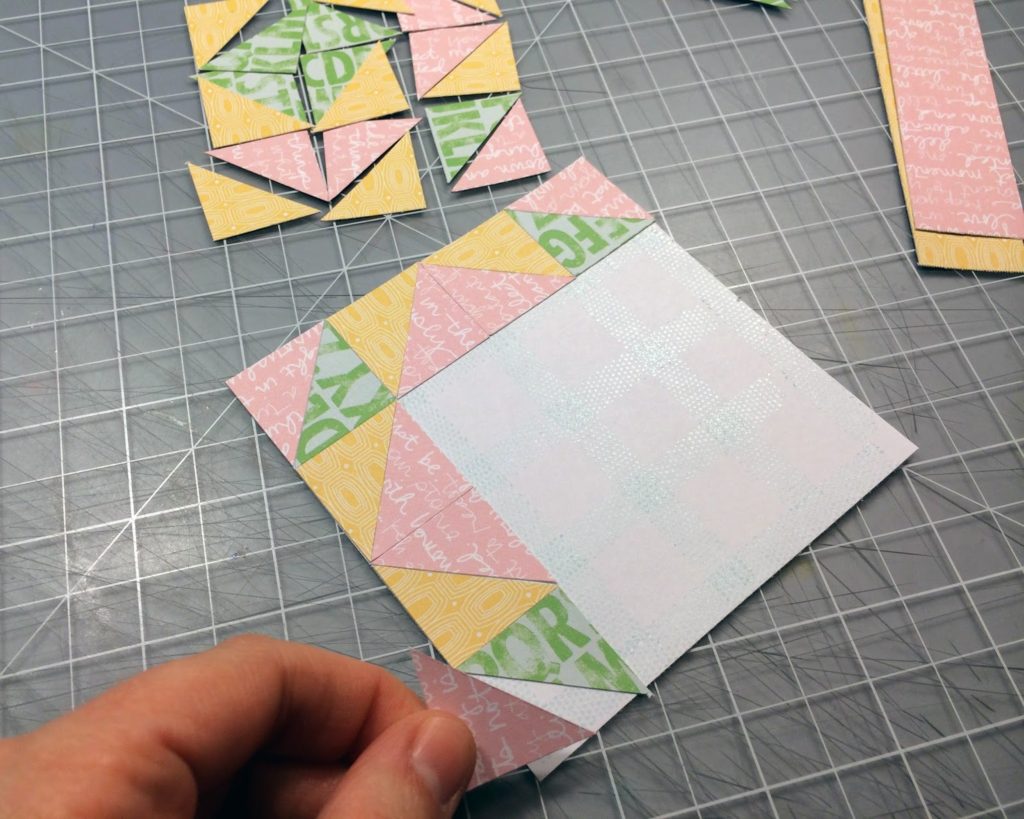
Once your pattern is set you can start adhering it down. I cut a 4″ square piece of printer paper to use as my base for my pieces. I covered it in a good amount of adhesive so that each piece will stick down well.
After all the pieces are adhered down you can shape up the edges with the craft knife and a straight edge. This will give a clean edge and get rid of any imperfections you will have from piecing together the paper.
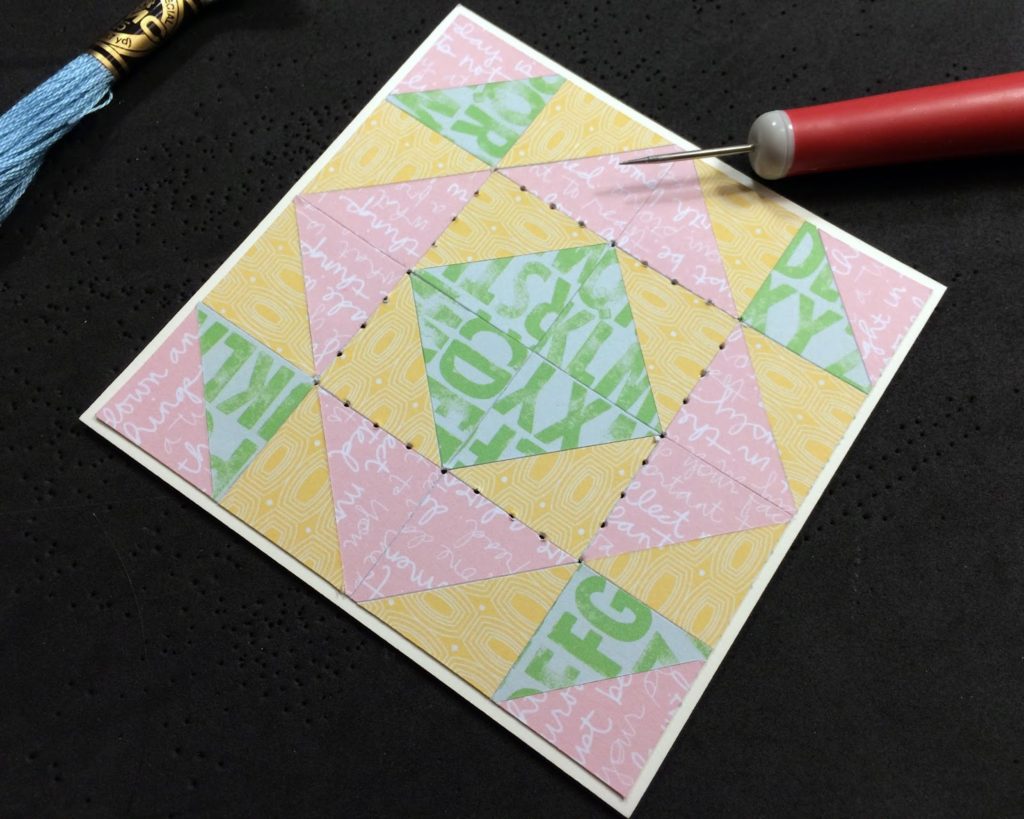
Next I matted the pattern piece with a solid card stock to give it a nice finished edges and more stability then I used the pattern as my guide to pierce some holes for stitching. I used a paper piercing tool and a thick foam mat to pierce my paper.
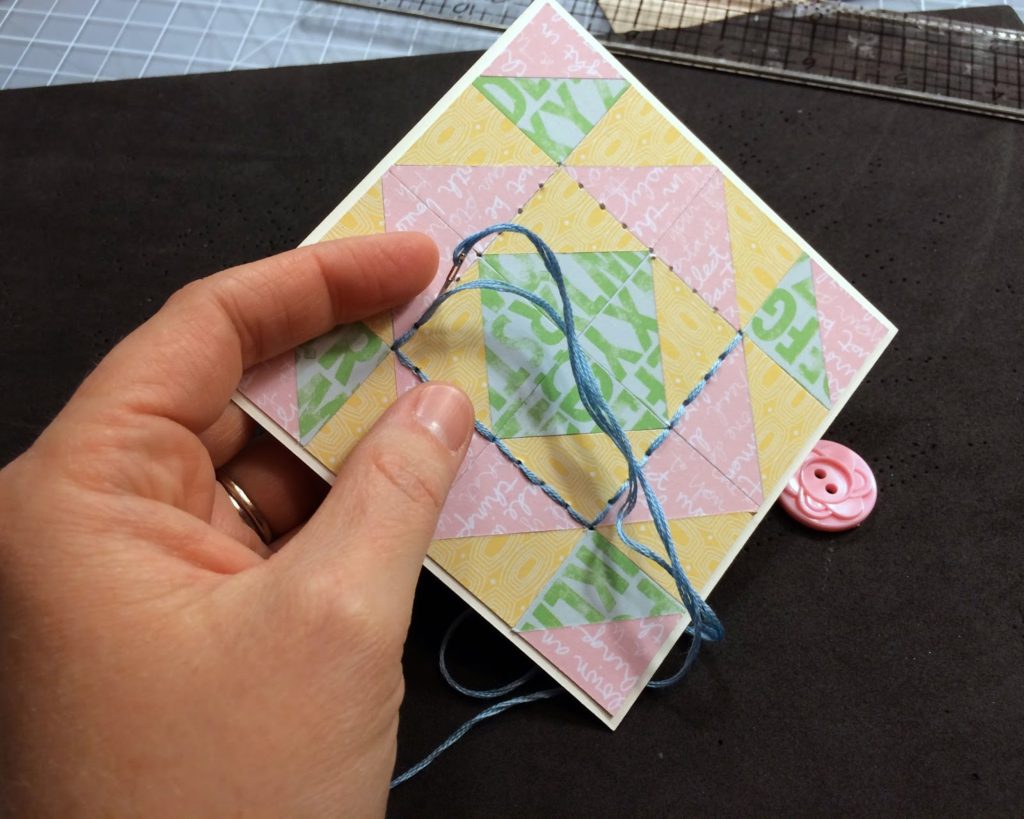
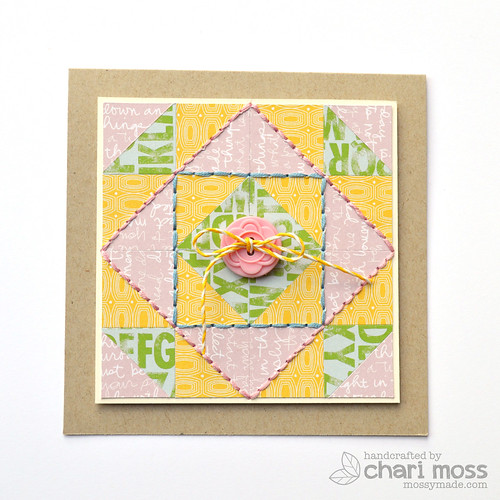
I picked some embroidery floss that I thought went well with the colors of my papers. I actually stitched a blue square and then added a pink stitched square, again using the quilt pattern ad a guide for my stitches.
After all the stitching is done I mounted the square using foam tape on the card base. This give some dimension as well as lets the square stay flat by giving room behind it for the stitches on the back.
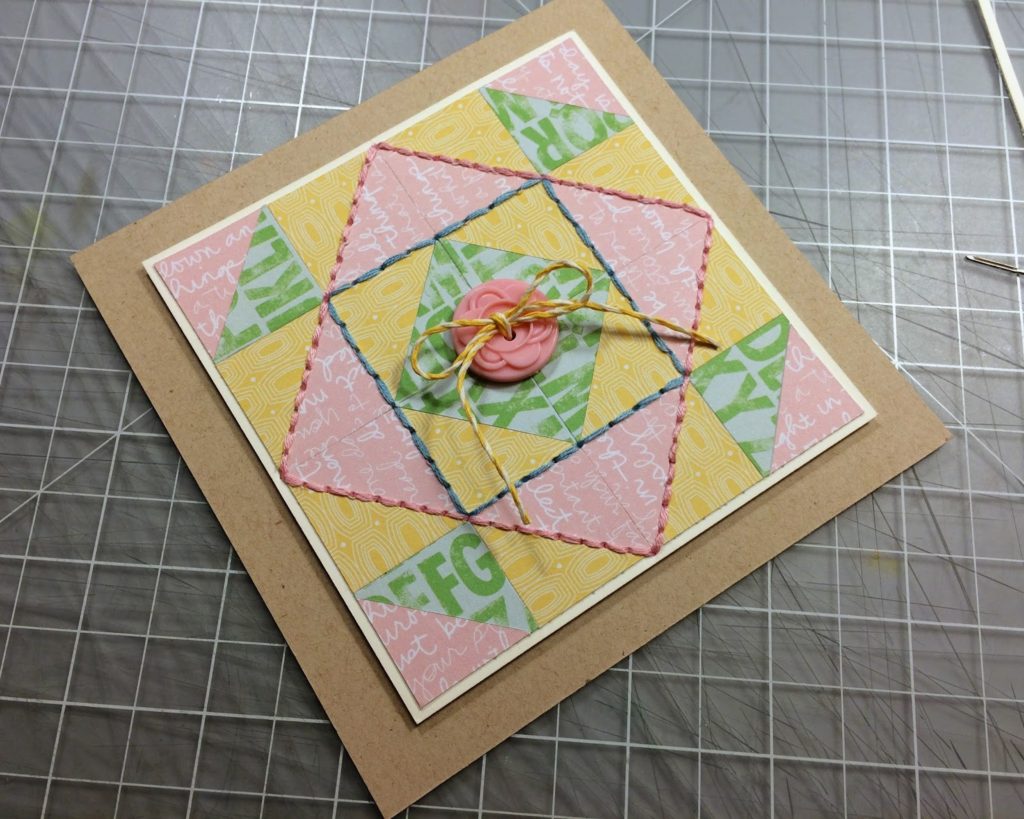
I finished the card off by adding a button with a little twine in the center. This idea can be made with any papers you have in your stash, even a great way to use scraps, like a true patchwork quilt.
I love this. You have such patience. 🙂
Kudos to you! I love how it turned out but I don't do hand sewing on anything!
Just a beautiful card. I love it! 🙂
This is fabulous!
Beautiful! Thanks so much for sharing this technique.