
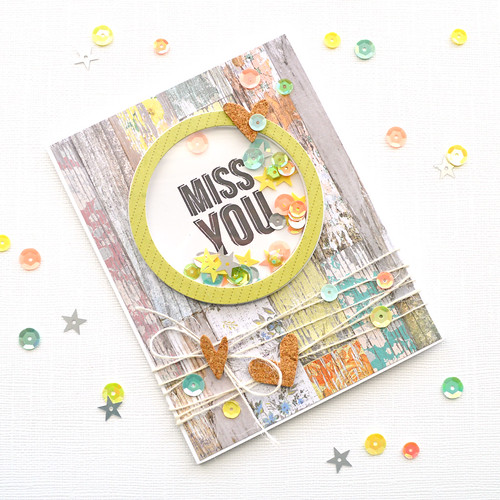
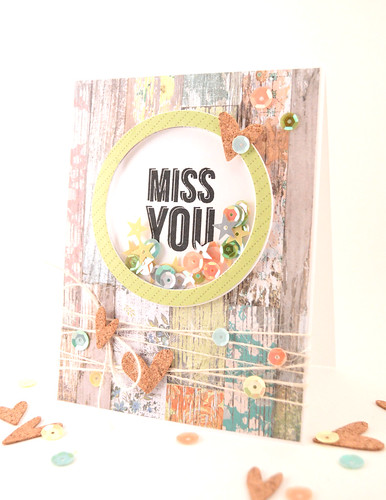
Hello! Today I wanted to share a little tutorial on how to create a shaker card. I made this card using some new Studio Calico products and I really like the rustic feel it has.
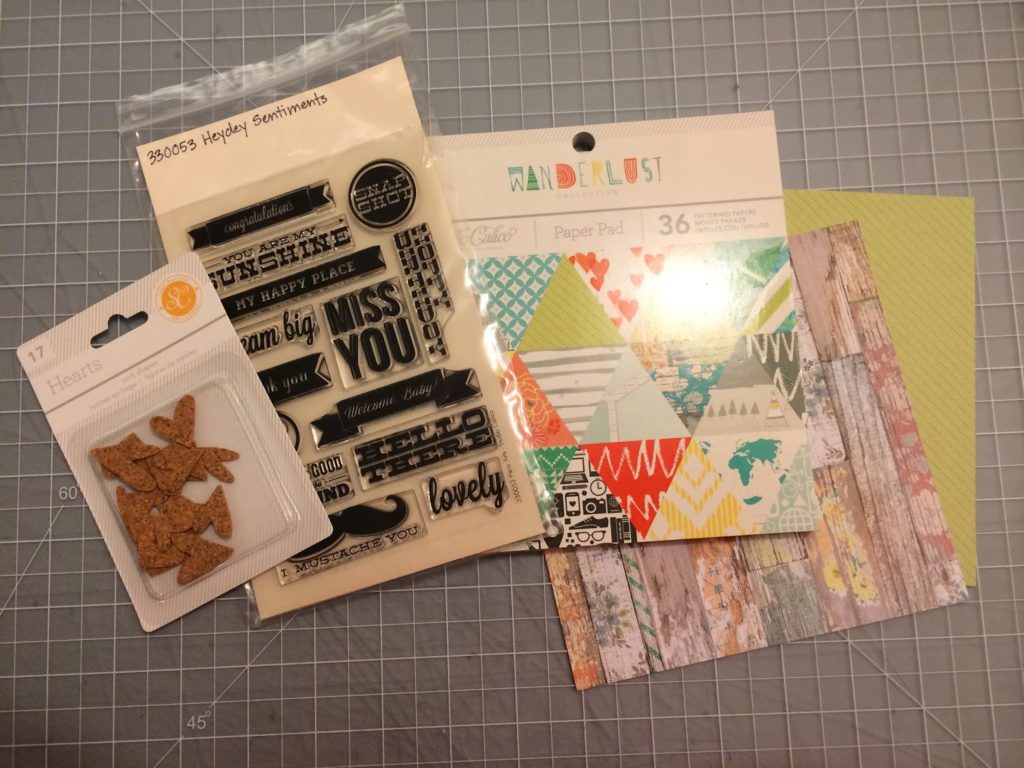
I picked out the rustic weathered wood paper from the new Wanderlust collection as the basis for my design. I felt it had some nice subtle colors in it that I could pull from for my other design elements.
First step is to cut down the paper to fit the front of my card. I am making a standard A2 size card so I cut down the wood paper slightly smaller than an A2 size, so that there would be a very slight white border around it once mounted on the card.
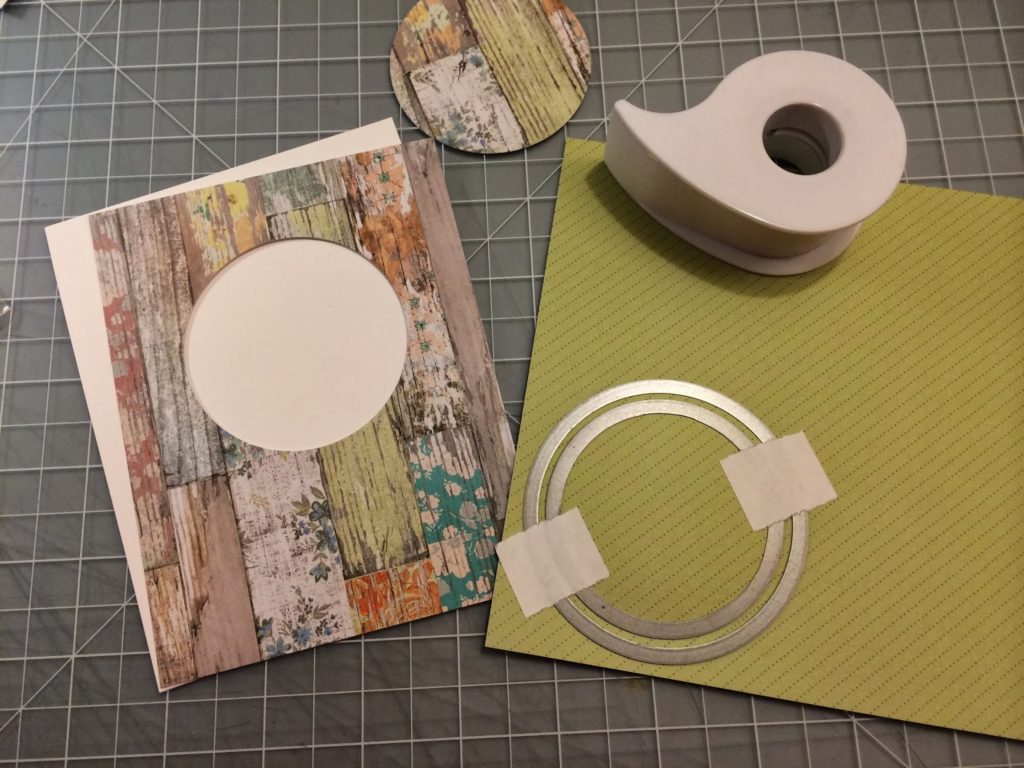
Next cut a circle out of the center of the pattern paper panel, this is where the sentiment will be. I used circle dies but you could trace a circle a cut it out as well. I also used the same size circle die and one a little bigger to cut out a “frame” from a coordinating pattern paper from the Wanderlust paper pad.
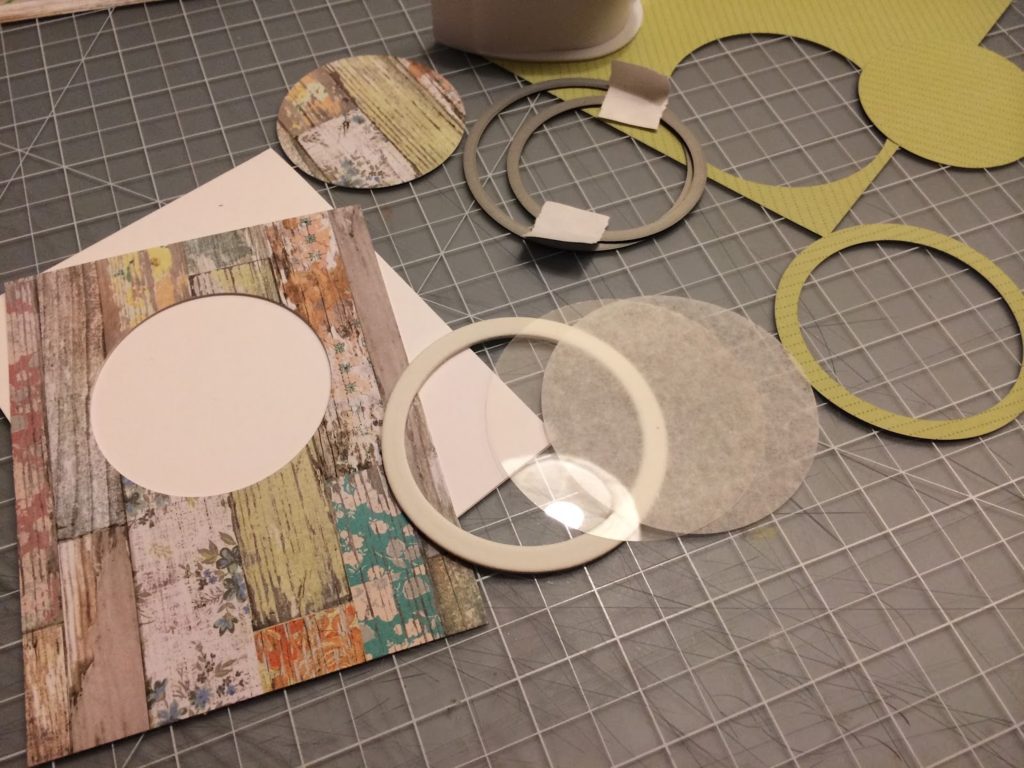
Using the same circles cut a frame out of craft foam. I used white but you could use any color that matches your project. One trick to be sure the foam frame matches the paper frame is to tape the circles down with one piece of tape across both of them, this way the dies will keep the same spacing while you cut both materials. Using the larger of the two circles cut a piece of clear acetate as well.
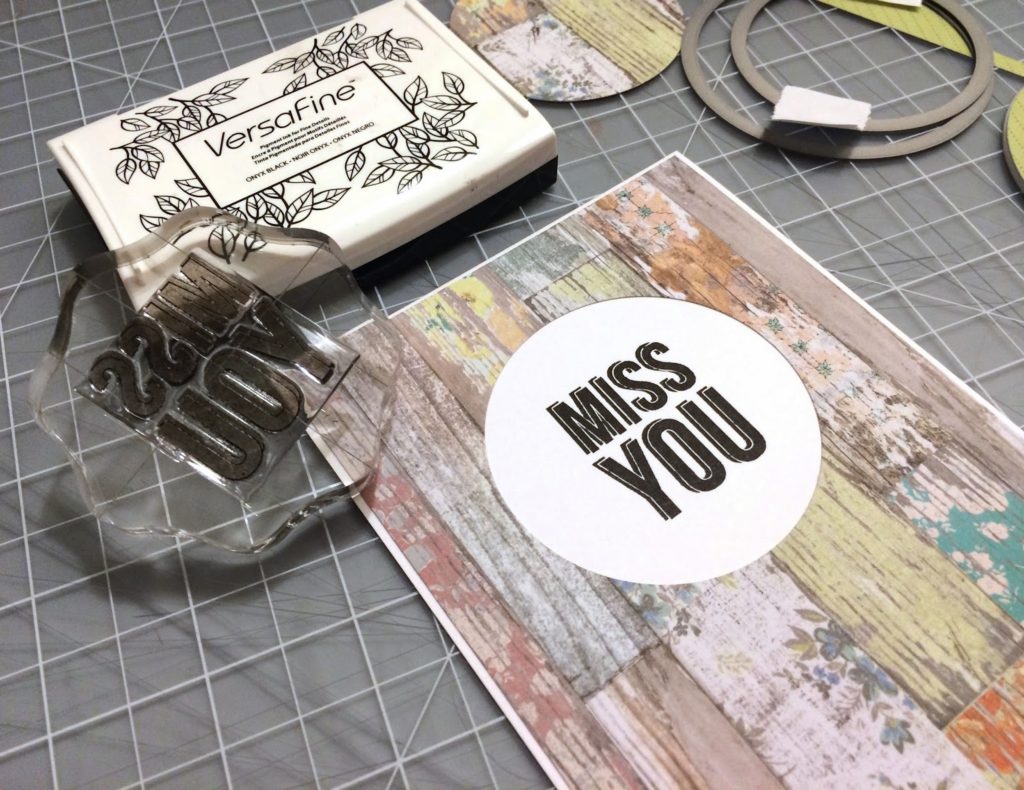
After adhering the panel to the card base stamp the sentiment inside the opening. I used a sentiment from the Heyday Sentiments set with Versafine ink.
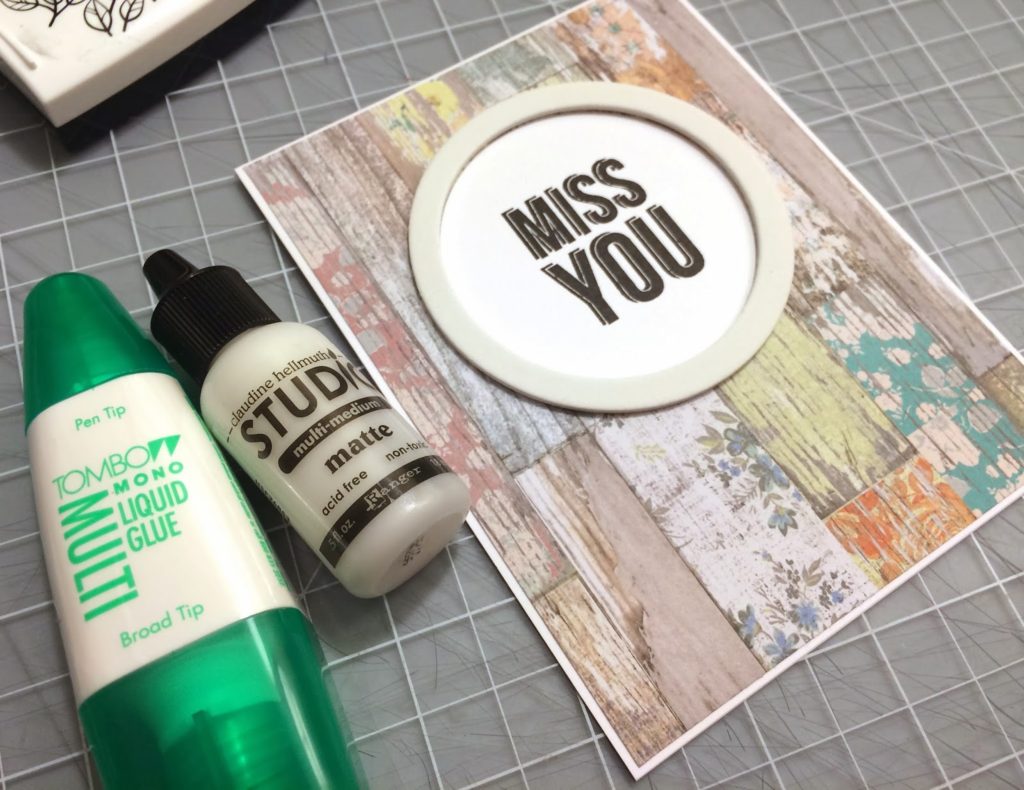
Glue down the foam circle using liquid glue. I used the Studio Multi Medium in Matte.
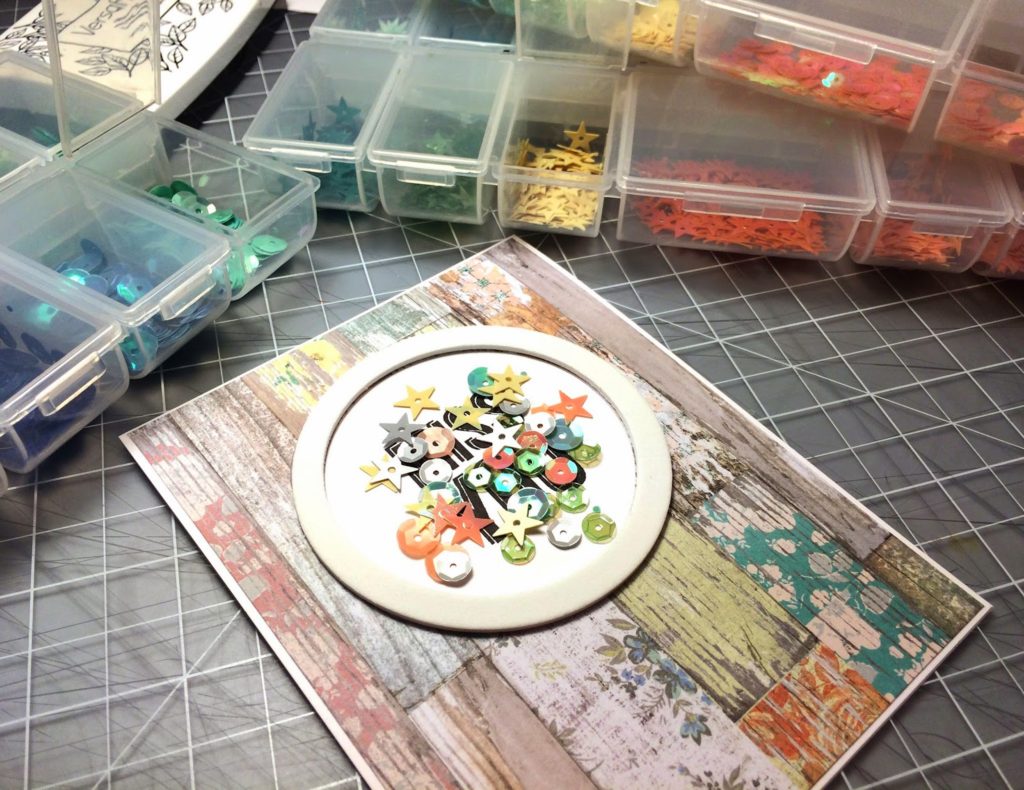
Next fill the frame with a variety of sequins in matching colors. I used sequins from the new Studio Calico Color Theory collection in Coral Bay, Sunny Day, Yes Peas, Mint Hint and Platinum Status. I varied the sizes and shapes for more interest.
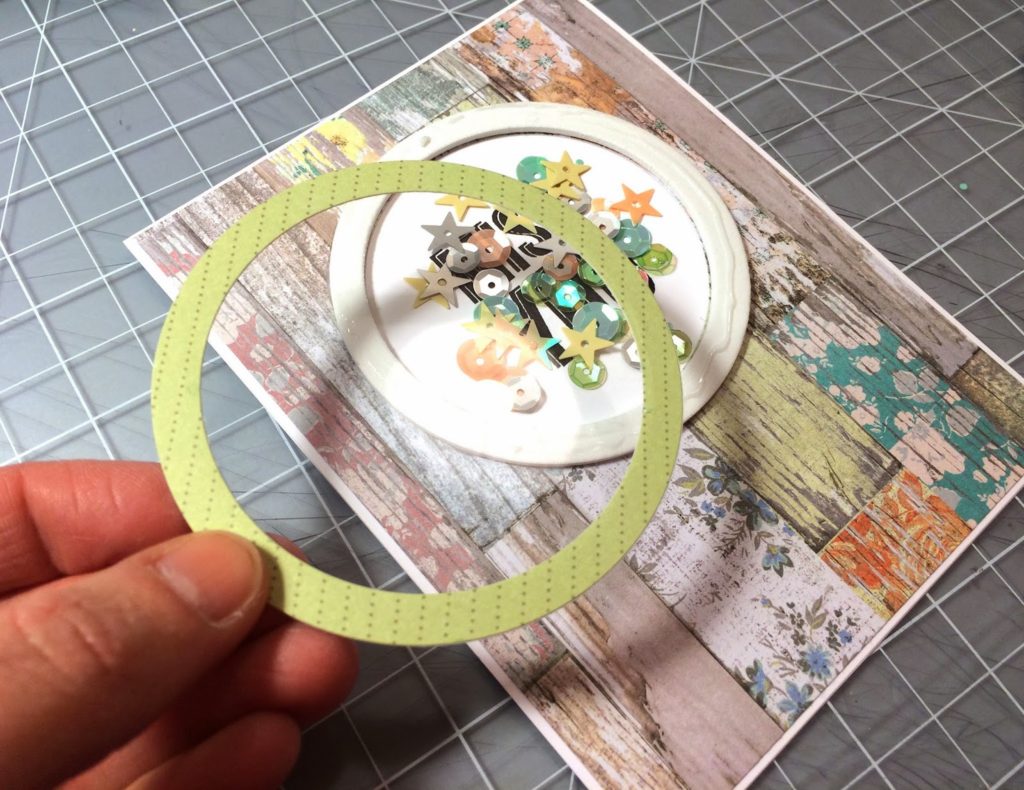
Next I adhered the paper frame to the front of the acetate circle. Then adhere the acetate to the foam frame sealing in the sequins.
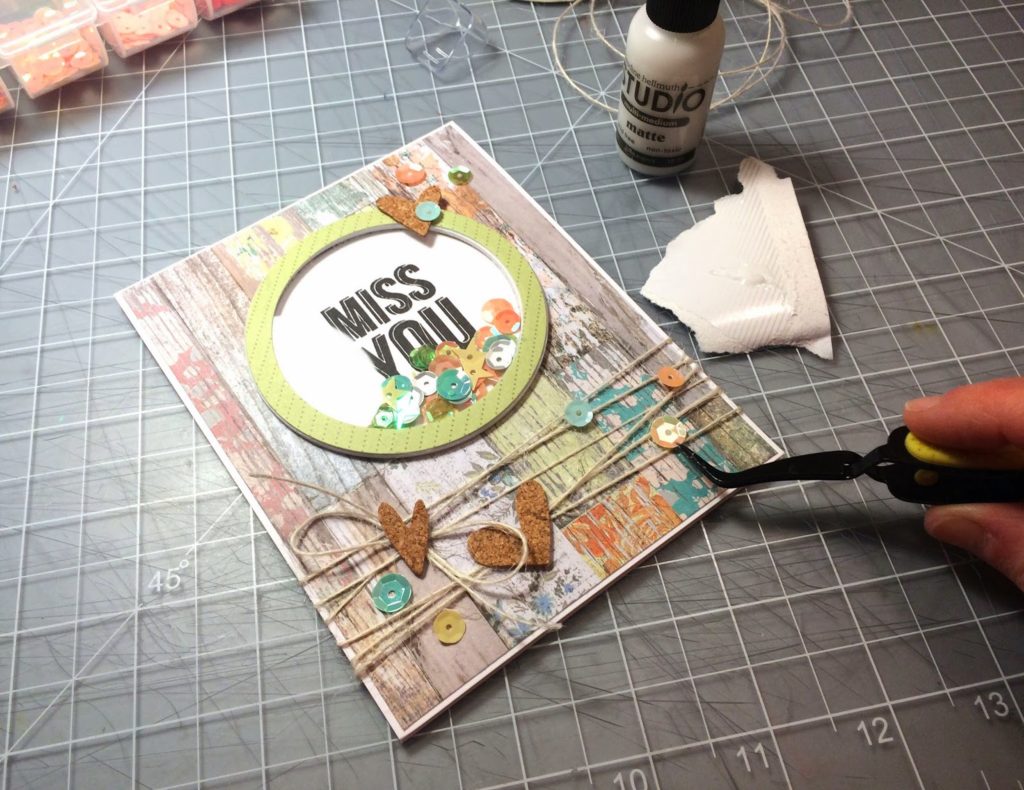
Finally embellish the card. I used a natural burlap string, wrapped around the card and tied in a bow along with cork heart embellishments and a few more sequins. I find that sequins are easier to adhere down when I use tweezers.
Nesting steel die shapes make shaker cards easy to create but you can try by cutting out square or rectangular shapes and using foam adhesive tape instead of craft foam.
SUPPLIES:
I love this card. Rarely see a shaker card with a rustic background. It looks great.
This is soooooooooooooo pretty Chari!!!!!!!!!!!! Your directions are really clear and easy to understand. I was wondering about using foam adhesive tape. Don't know how it will cut but I'm gonna try it!!!!!! TFS