
Hello!
Today I have a little tutorial showing how to make a simple mini book using 6×6 papers and 4×6 journaling card die.
First step in creating this project it to pick out the papers you want to use for the inside pages. I choose papers from a variety of Studio Calico card kits but you can use whatever you have on hand, 12×12 papers would work too but I will show you how to do this with single sided patter papers.

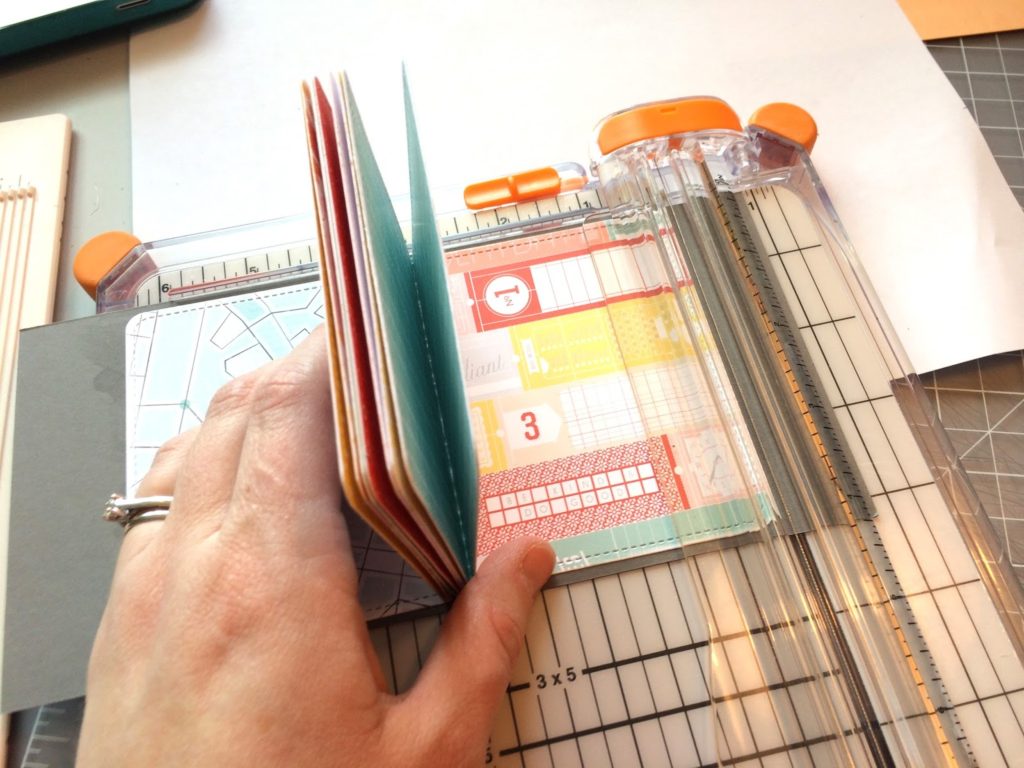
I die cut each of my patter papers with the 4×6 Stitched Journaling Card from Lawn Fawn, this way each page is cut exactly the same. Then I used my scoring board to score a line in the center at 3″ and create a fold.

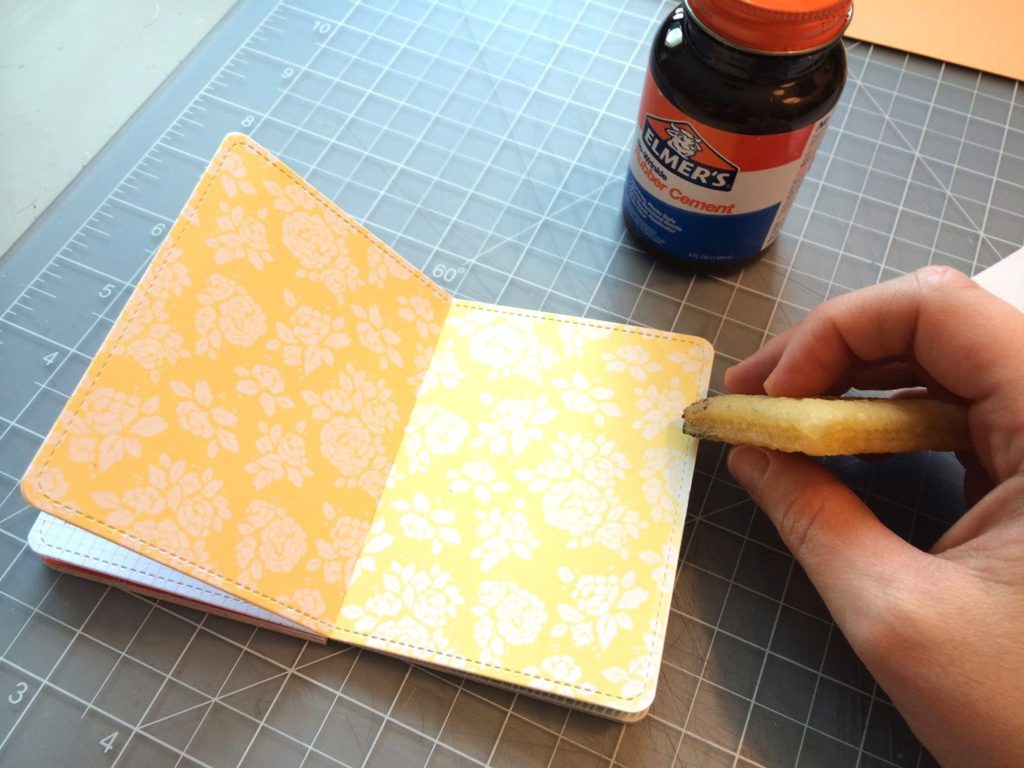
Next adhere the backsides of each of the pages to the pages before and after it. I use rubber cement and apply it to both pages for a stronger bond. You can clean up the edges once it is dried with a rubber cement adhesive remover and this keeps the project nice and clean.
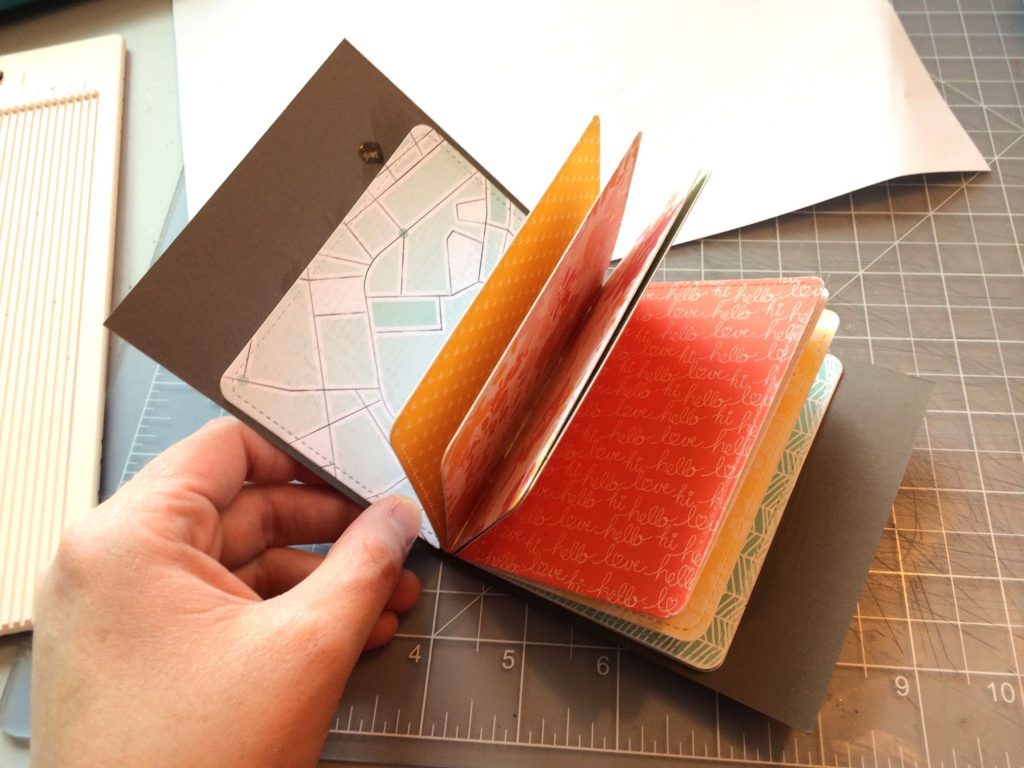
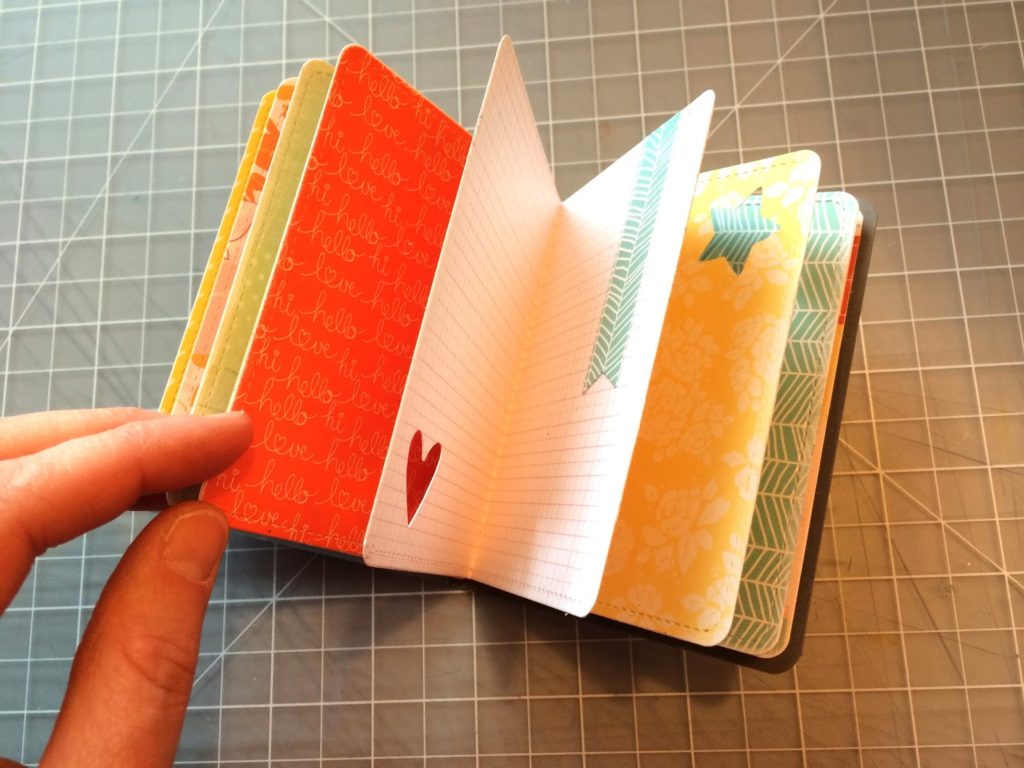
Once all your pages are adhered together you should have something looking like this, a lovely fan of pattern paper.

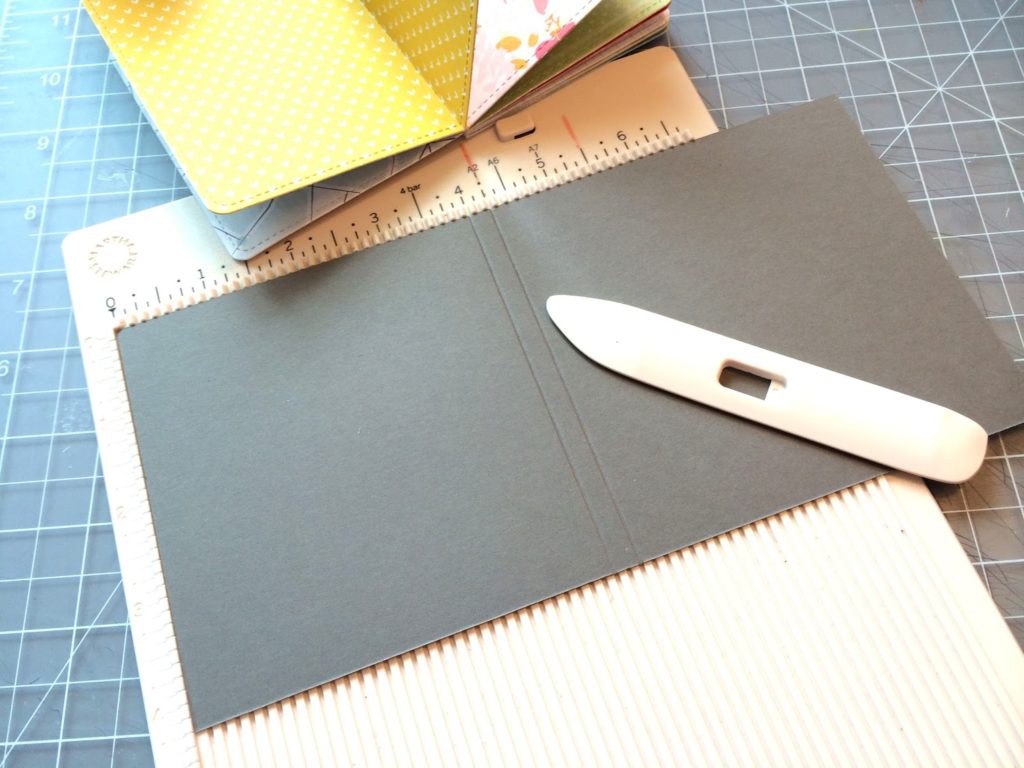
Next create the cover, I cut a piece of card stock to be slightly wider than 4″ and much longer than I needed. I measured the thickness of the spine of my pages and scored two lines that distance apart to create the spine of my book.
Apply more rubber cement to the front and back of the pages as well as the inside of the cover then line the pages up with the spine and adhere the front and back pages to the inside of the cover.
After the adhesive is set you can trim the extra cover card stock off leaving an even border of card stock around the pages.

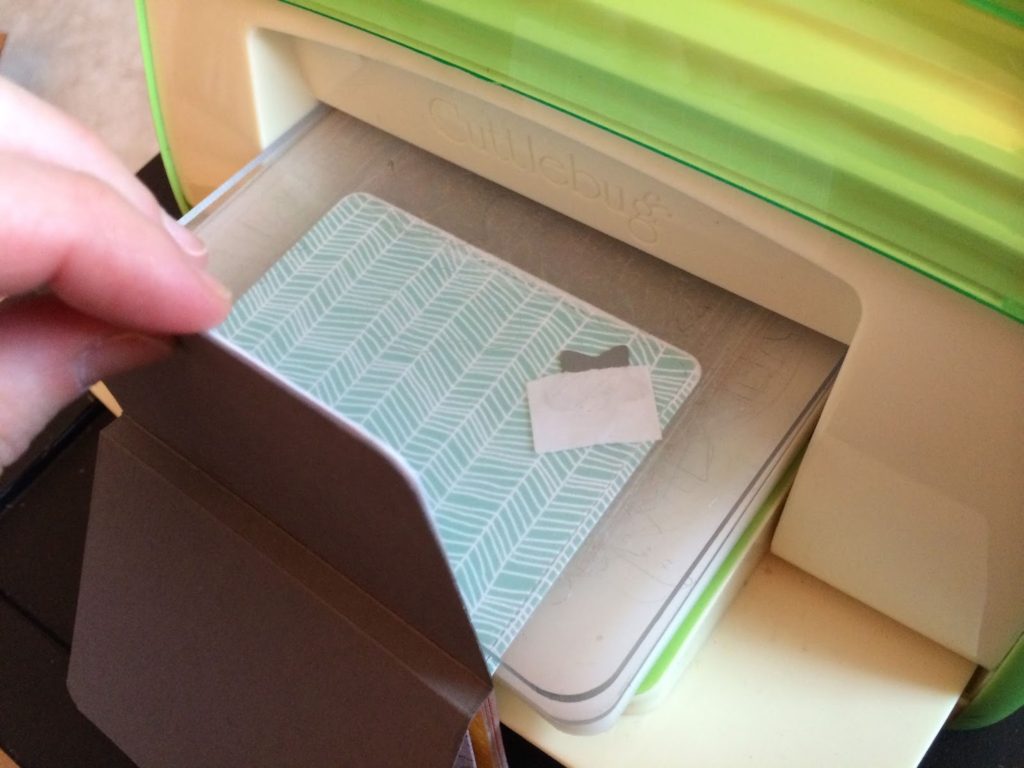
I wanted to create some open shapes in my pages but I forgot to do it before getting everything glued together. So if you remember do this step earlier, and if you forget like I did here how to do it if you have already assembled your book. Place the die where you want it and put only that page between the cutting plates, let the rest of the book hang out the end. Only run the edge through the die cut machine and then back it back out. This creates some fun openings through your pages.
See how great the little die cut openings look through the pages inside. Now the assembly is finished and it’s time to embellish.
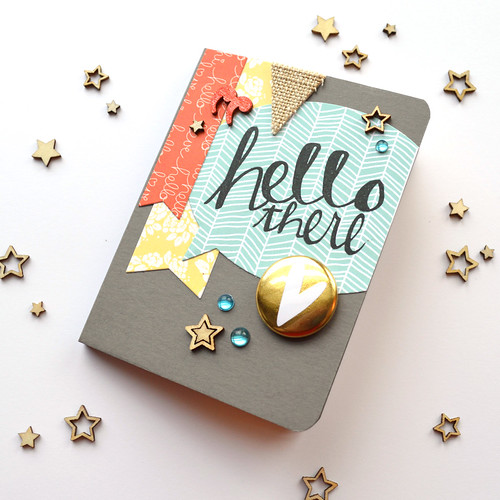
Add anything you like to decorate the front, and even the back. I used papers that matched the inside pages as well as some fun embellishments to create some texture and dimension on the outside. Now your mini book is ready to fill with notes or photos or give as a gift.
Thanks for stopping by today!
Such a sweet mini, I love how this turned out!
very cute!
Nice! Do you like rubber cement better than other wet adhesives? TFS!
Just found this in the Studio Calico gallery. How cute. Totally making one of these!
Hi Chari.
Your mini book is such a great idea and looks so cute. This would make a nice college graduation photo book gift. Allow so many pages per year and use Lawn Fawn font to label each year freshman, sophomore, junior, senior and commencement. ♥️